Precisely Controlling Die Quality: Hardness Testers Strengthen the Laboratory Testing Defense
May 29, 2026
In high-precision laboratory sample preparation and material testing, dies are the core components for pre-processing. The hardness performance of a lab pellet molding die directly determines its wear resistance, impact resistance, and ultimate service life.
Throughout the entire lifecycle of die development, heat treatment verification, and product quality inspection, hardness testing serves as the critical procedure to verify material compliance and process standards. Relying on standardized testing systems and high-precision sensing technology, laboratory-specific hardness testers provide precise, stable, and compliant testing solutions for specialized tool steels and carbide molds.

The Core Value of Material Hardness Verification
The primary objective of die hardness testing is to eliminate mechanical failures and production hazards in advance. Incorrect hardness levels lead to critical structural vulnerabilities:
- Insufficient Hardness: Causes premature deformation, collapse, and rapid abrasive wear during high-pressure compression, resulting in sample size deviations and batch defects.
- Excessive Hardness: Results in a severe lack of material toughness, making the die highly susceptible to cracking and catastrophic brittle fracture under high-pressure stamping conditions.
Through standardized laboratory testing, technicians can accurately verify the effects of heat treatment, quenching, and tempering processes—ensuring uniform material microstructure and securing quality control right from the source.
Standardized Operational Procedure for Hardness Verification
To ensure the structural integrity and structural readiness of precision equipment, such as HENCH tablet molding machines and specialized compression components, laboratories must execute hardness testing under strict, standardized protocols.
Below is the industrial verification matrix for benchtop Rockwell hardness testing:
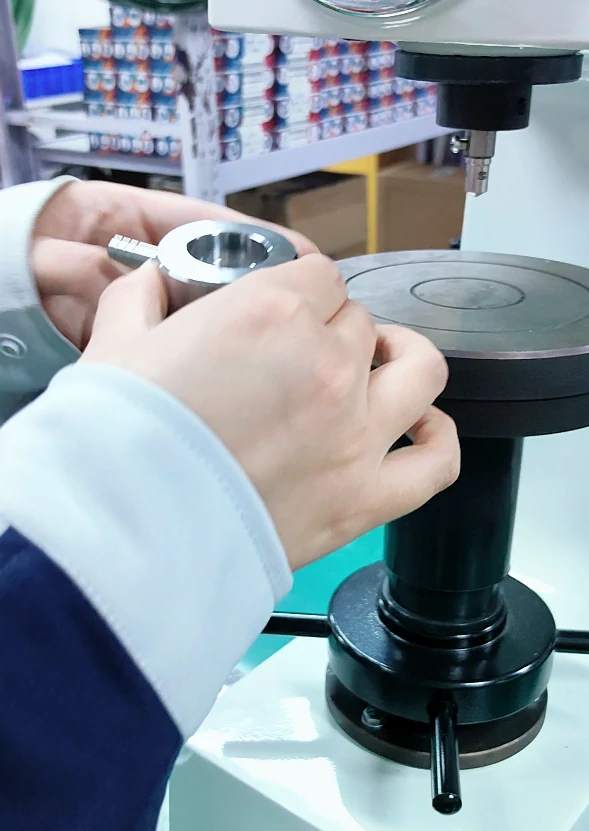
Step 1: Specimen Positioning Securely place the target die flatly on the testing anvil/workbench, ensuring no shifting or micro-vibrations can occur during loading.
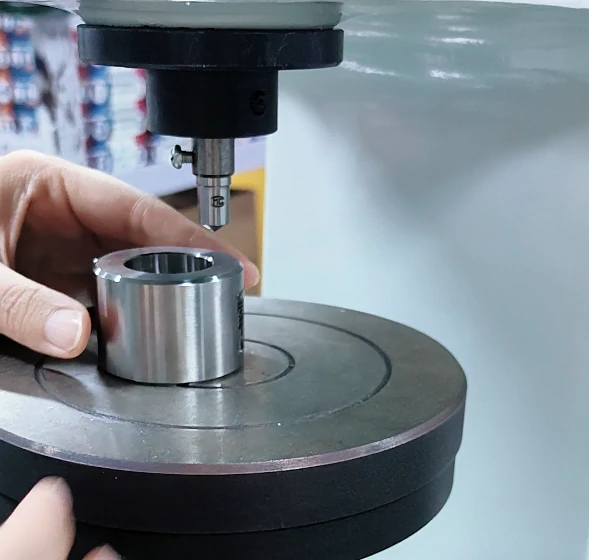
Step 2: Pre-loading & Elevation Rotate the elevation gear to raise the worktable smoothly until the specimen surface makes vertical contact with the diamond indenter.
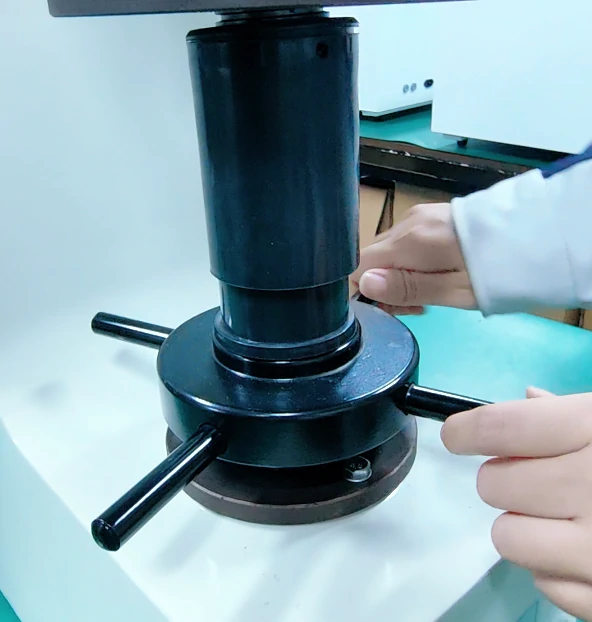
Step 3: Gauge Calibration Continue loading until the minor load is fully applied, aligning the indicator pointer precisely with the “C” mark on the dial face to establish the testing baseline.
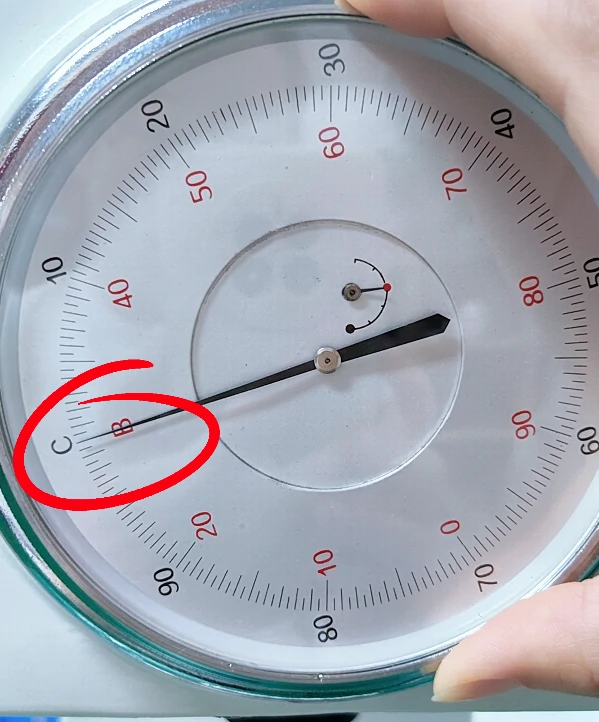
Step 4: Major Load Application Pull the primary pressure lever smoothly to engage the main test load, driving the indenter into the material structure.
Step 5: Dwell Time & Release Maintain the major load for a strict dwell period of 2 to 3 seconds to allow plastic deformation to stabilize, then push the relief lever back to completely release the load.
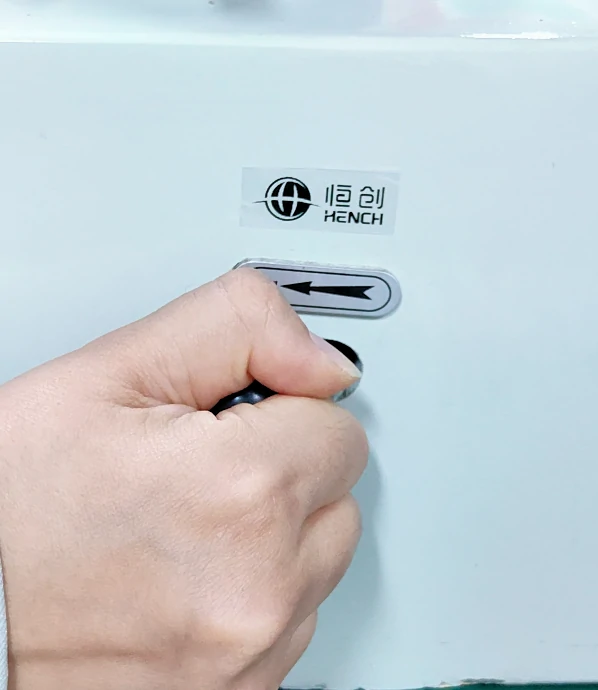
Step 6: Data Acquisition Read the final resting position of the pointer on the calibrated scale; this absolute value represents the rockwell hardness rating of the verified die.