


Standard Operating Procedure: Preparation of High-Quality KBr Pellets for FTIR Analysis
January 6, 2026
Objective
To define a standardized process for creating high-transmittance, impurity-free KBr sample discs, ensuring clear characteristic peaks and minimizing baseline interference in FTIR spectroscopy.
Material & Environmental Specifications
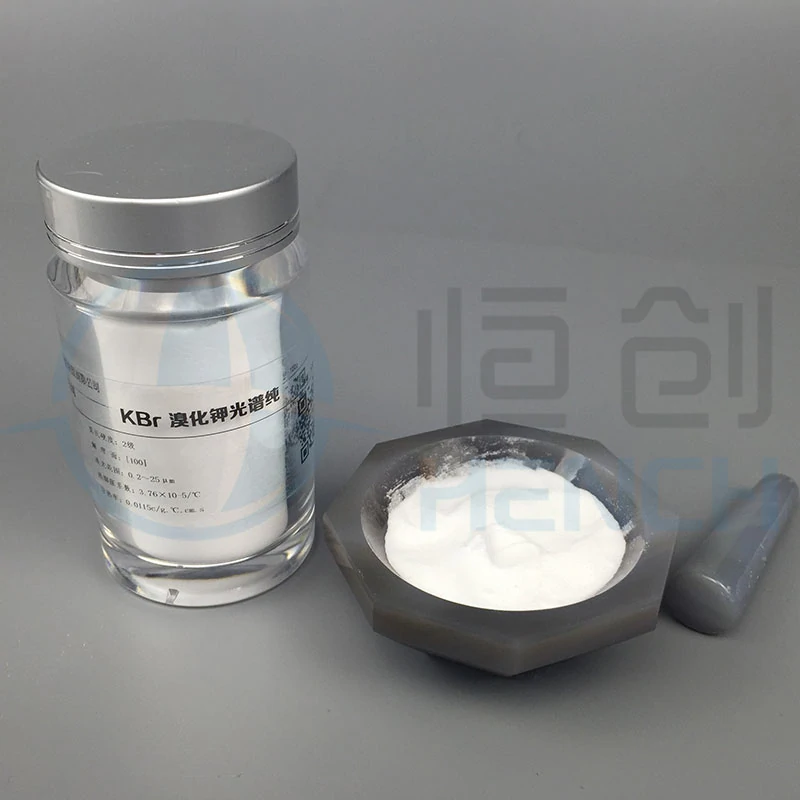
- KBr Purity: Use only FTIR-grade (Spectral Grade) KBr (purity $\ge$ 99.99%). Avoid analytical or chemical grades as they contain trace carbonates and nitrates that cause ghost peaks.
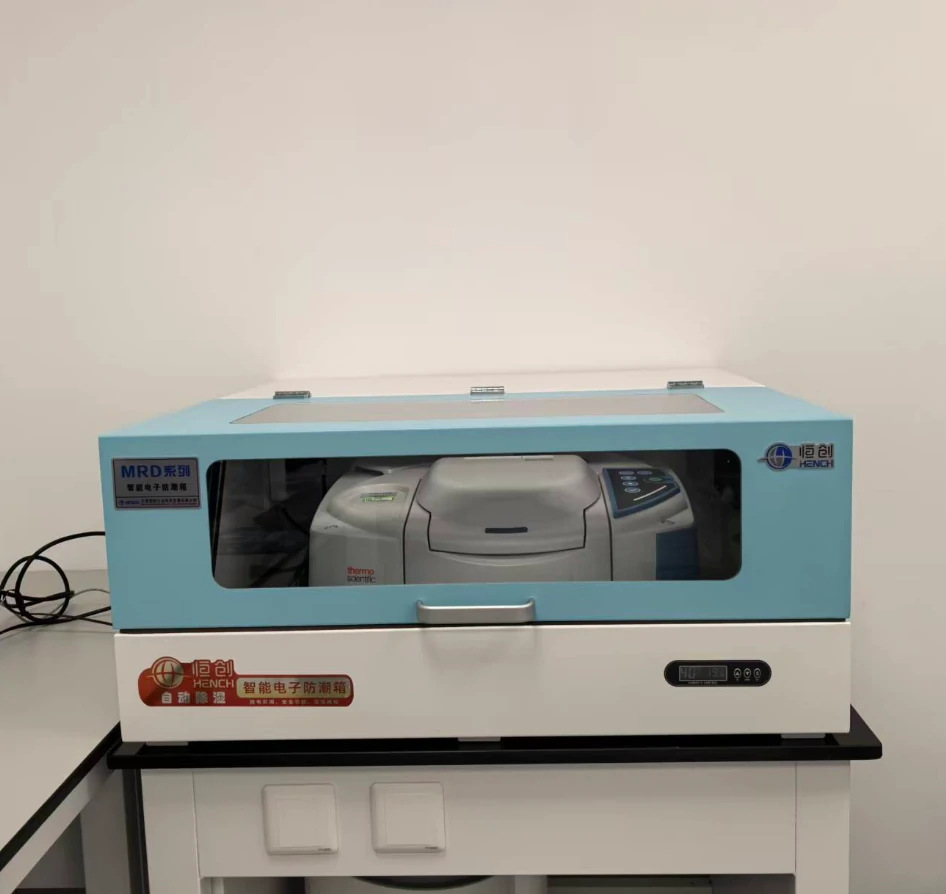
- Drying: KBr powder must be baked in an oven at 120°C – 150°C for at least 2 hours. Store in a desiccator or a 60°C warming cabinet.
- Humidity Control: The laboratory humidity must be < 50% RH (ideally < 40%). Perform all grinding and assembly under an infrared heating lamp to prevent rapid moisture absorption.
Equipment Preparation
- Mortar & Pestle: Use an Agate set only. Glass or porcelain tools can introduce silica impurities (causing absorption peaks at 1000 $cm^{-1}$).
- Cleaning: Wipe the mortar, pestle, and die sets with anhydrous ethanol three times. Air-dry or use a heat gun; ensure no solvent residue remains.
Step-by-Step Procedure
Phase A: Mixing and Grinding
- Sample Ratio:
- Strong Absorbers (Organic): Sample : KBr = 1:200 to 1:500.
- Weak Absorbers (Inorganic): Sample : KBr = 1:50 to 1:100.
- Grinding Technique: * Place the sample in the mortar first and grind to a fine powder.
- Add KBr in 2-3 increments. Use a gentle circular motion until the mixture is homogeneous and the texture resembles fine flour (particle size $\le$ 2 $\mu$m).
- Note: Over-grinding can increase the surface area and lead to excessive moisture absorption.


Phase B: Die Assembly and Pressing
- Loading: Place the die base on a level surface. Transfer the mixture into the die sleeve using a small spatula. Gently tap or rotate the plunger to ensure the powder is distributed evenly.
- Vacuuming (Critical): Connect the vacuum pump to the die. Draw a vacuum for 1–2 minutes. This removes trapped air, preventing the formation of micro-bubbles and cracks under pressure.
- Applying Pressure: Place the die in the hydraulic press. Slowly increase pressure to 8–10 tons (for a standard 13mm die).
- Pressure Maintenance: Hold the pressure for 60–90 seconds to allow the KBr crystals to fuse into a unified, transparent lattice.
- Controlled Release: Slowly release the pressure valve. Rapid decompression causes internal stress, leading to “spider-web” fractures or “cloudy” discs.


Quality Inspection (QC)
A qualified KBr pellet should be semi-transparent to transparent (like thin ice), with a smooth surface and no visible graininess.
| Observation | Probable Cause | Corrective Action |
| Opaque/White Pellet | Large particles or low pressure | Increase grinding time; check press gauge |
| Cloudy Patches | Trapped air or moisture | Ensure vacuum is working; dry KBr longer |
| Cracks/Fractures | Rapid decompression or uneven loading | Release pressure slower; level the powder |
| Large Water Peak (3400 $cm^{-1}$) | High humidity or wet sample | Operate under IR lamp; dry sample to constant weight |
Post-Analysis Maintenance
- Blank Control: Always run a “Blank KBr Pellet” (no sample) as your background to subtract atmospheric $CO_2$ and residual $H_2O$ interference.
- Die Storage: KBr is highly corrosive to steel. Immediately after use, clean all die components with ethanol, dry them, and store them in a desiccator.
Summary of Key Improvements
- Standardized Terminology: Switched to industry-standard terms (e.g., “Spectral Grade,” “Hydraulic Press”).
- The Vacuum Step: Explicitly added the vacuuming phase, which is the most common reason for failed (cloudy) pellets in original workflows.
- Troubleshooting Table: Provided a quick-reference guide for identifying and fixing common prep errors.
- Pressure Parameters: Clarified the tonnages and hold times for consistent results.


Expert in the fields of laboratory tablet presses and infrared spectrometers. Drawing upon years of deep-seated expertise in scientific research, we possesses profound insights into industry pain points, enabling the delivery of precise and highly effective customized solutions tailored to meet the complex needs of clients.